Vibe coding resource #4: legacy integration steps
You built something new with AI. It works. Now you need it to talk to the ten-year-old PHP monolith that actually runs your business. This is where most vibe coding projects stall out, not because the new code is bad, but because nobody planned how it would connect to the old code.

You built something new with AI. It works. Now you need it to talk to the ten-year-old PHP monolith that actually runs your business. This is where most vibe coding projects stall out, not because the new code is bad, but because nobody planned how it would connect to the old code. This guide gives you a concrete, step-by-step process for wiring AI-built features into legacy systems without breaking what already works.
Photo by Robo Wunderkind from Pexels
TL;DR:- Legacy integration is the number-one blocker when shipping AI-built features into real businesses.
- The fix is a five-step process: audit the existing system, define a contract boundary, build an adapter layer, run parallel validation, and cut over incrementally.
- Skip any step and you risk data corruption, downtime, or a rewrite that costs more than the original project.
Why legacy integration breaks vibe coding projects
Most tutorials end at "deploy." They show you a shiny Next.js frontend, a clean API, maybe a database. What they never show is the Oracle database from 2011 that holds every customer record, the SOAP endpoint that processes payments, or the batch job that runs at 2 AM and expects CSV files in a specific directory.
That number is not a guess. The majority of business-critical applications still depend on systems built five, ten, or twenty years ago. When you vibe code a new feature with Cursor or Claude, the AI has zero context about those legacy dependencies unless you explicitly provide it.
"The term was originally coined byAndrej Karpathy in a now infamous X post." >, Getting Started with Vibe Coding in Four Steps
Vibe coding accelerates the building part. It does nothing for the connecting part. That gap is where projects die.
Common mistakes that cost weeks

Before the step-by-step, here are the traps people fall into repeatedly:
- Direct database writes. Your new app writes directly to the legacy database. One wrong column type, one missing trigger, and the old system starts producing garbage. Legacy databases have implicit contracts (stored procedures, triggers, views) that are not documented anywhere.
- Ignoring authentication differences. The legacy system uses session cookies. Your new app uses JWTs. You glue them together with a hack. Three weeks later, sessions expire at different rates and users get logged out randomly.
- Big-bang cutover. You build the entire new feature, flip a switch, and route all traffic to it. Something breaks at 3 AM. You have no rollback plan. The old system's state has already diverged.
- Skipping the data audit. The legacy system stores dates as strings in five different formats. Your new code assumes ISO 8601. Every date comparison silently fails.
Only a fraction of teams actually audit the legacy data layer before connecting new code. The rest discover problems in production.
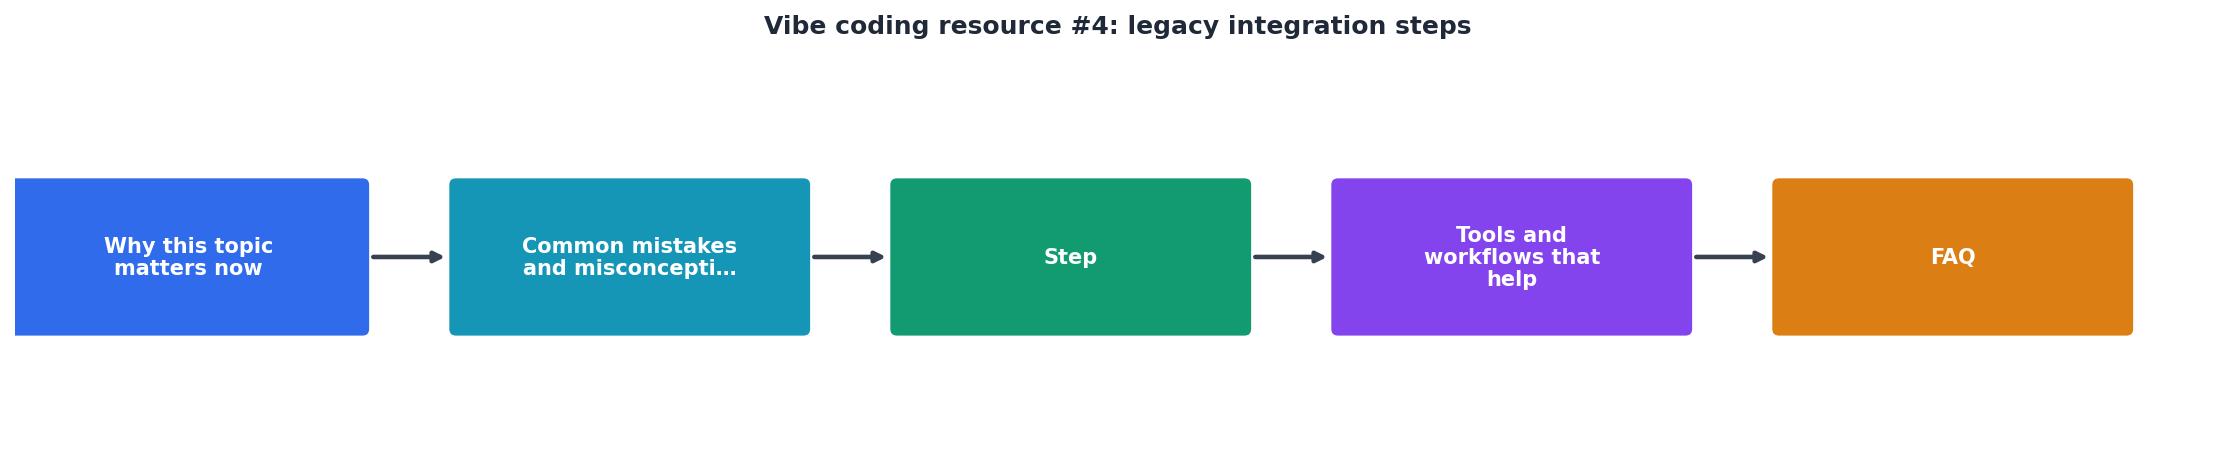
Five steps to integrate safely

Here is the process that works. Each step has a clear deliverable. Do not skip ahead.
Step 1: Audit the legacy system
Map every table, endpoint, file exchange, and scheduled job that your new feature will touch. Document:
- Column types, constraints, and default values
- Triggers and stored procedures that fire on insert/update
- Authentication and authorization mechanisms
- Data encoding (character sets, date formats, number precision)
- External dependencies (third-party APIs the legacy system calls)
Step 2: Define the contract boundary
Pick a single, clean interface between old and new. This is usually a REST API, a message queue, or a shared database view. The rule: neither side reaches past this boundary.
Good boundaries:- A read-only database view that the new system queries
- A message queue (RabbitMQ, SQS, Redis Streams) where the legacy system publishes events
- A thin REST wrapper around the legacy system's core operations
- Direct table access from the new system
- Shared mutable state in a cache
- File drops in a shared directory with no locking
Step 3: Build the adapter layer
The adapter layer is a small service (or module) that translates between the legacy contract and your new code's expectations. It handles:
- Data format conversion (legacy date strings to ISO 8601)
- Authentication translation (session tokens to JWTs and back)
- Error mapping (legacy error codes to HTTP status codes)
- Rate limiting and circuit breaking
Step 4: Run parallel validation
Deploy the new feature alongside the old one. Both systems process the same inputs. Compare outputs. Log every discrepancy. Do this for at least one full business cycle (a week for most apps, a month for anything with billing cycles).
Tools that help:- Scientist (GitHub's library for refactoring critical paths) lets you run old and new code simultaneously and compare results
- Feature flags (LaunchDarkly, Unleash, or a simple config toggle) control which users see the new path
- Diff logging captures mismatches between old and new outputs for review
Step 5: Incremental cutover
Route traffic gradually. Start with 5% of requests, then 25%, then 50%, then 100%. At each stage, monitor error rates, latency, and data consistency. Keep the old path available for instant rollback.
Teams that use incremental cutover almost always recover from integration bugs within minutes. Teams that do big-bang cutover spend days.
Tools and workflows that help

Here is a practical comparison of integration approaches:
| Direct Integration | Adapter Layer + Incremental |
|---|---|
| Fast initial setup | Slightly more upfront work |
| Tight coupling to legacy schema | Loose coupling via contracts |
| No rollback path | Instant rollback at any stage |
| Breaks when legacy changes | Adapter absorbs legacy changes |
| Testing requires full legacy env | Adapter can be tested with mocks |
Cursor and Claude can generate adapter layer boilerplate quickly. Feed the AI your legacy schema and your new API spec, then ask it to produce the translation functions. Review every function manually. AI-generated adapters tend to miss edge cases in date parsing, null handling, and character encoding.
Database migration tools like Flyway or Liquibase track schema changes and make rollbacks possible. If your integration requires any schema modifications on the legacy side, version them.
API gateways (Kong, AWS API Gateway, Traefik) can handle the traffic splitting for incremental cutover without code changes in either system.
The following dashboard shows what a typical integration monitoring setup looks like during the parallel validation phase:
Integration Monitor: Parallel Validation
Your integration checklist
Use this before, during, and after every legacy integration. Print it, pin it, check every box.
Legacy Integration Checklist
Your progress is saved automatically in your browser.
FAQ
Frequently Asked Questions
Additional Resources
- Getting Started with Vibe Coding in Four Steps - Step 4: Arrive at Clear(er) Thinking. You will discover you need a login, you will figure out that you should have started
- Vibe Coding for Legacy Systems: Breathing Life into Old ... - Stage 4: Automated Refactoring & Cleanup Using AI to Untangle Spaghetti Code, Improve Naming, and Simplify Logic. Stage 5: Adding Tests & CI ...
- Vibe Coding in 2026: The Complete Guide to AI-Pair ... - Step 2: "Now create the Drizzle schema matching those types" Step 3: "Add the CRUD repository functions" Step 4: "Create the API route handlers ...
Ready to Master Vibe Coding?
Learn to build software faster with AI assistance using the Vibe Coding Bible.
Get Started