Implementing AI Coding in a Python Development Environment
You have an AI assistant generating code at speed, but your Python environment is a mess of conflicting dependencies, global installs, and notebooks that stopped working three months ago. The gap between writing AI-assisted code and running it reliably in a reproducible environment is where most productivity gains evaporate. This guide walks through a concrete, step-by-step setup for a Python development environment built specifically for AI coding workflows, from virtual environments and dependency management to library integration and day-to-day optimization.

You have an AI assistant generating code at speed, but your Python environment is a mess of conflicting dependencies, global installs, and notebooks that stopped working three months ago. The gap between writing AI-assisted code and running it reliably in a reproducible environment is where most productivity gains evaporate. This guide walks through a concrete, step-by-step setup for a Python development environment built specifically for AI coding workflows, from virtual environments and dependency management to library integration and day-to-day optimization.
Photo by Godfrey Atima from Pexels
TL;DR:- Use isolated virtual environments (venv or conda) with pinned dependencies for every AI project.
- Pick libraries based on your actual task: PyTorch for research flexibility, TensorFlow for production pipelines, scikit-learn for classical ML, LangChain or the OpenAI SDK for LLM integration.
- Integrate AI tools into your existing editor workflow (Copilot, Cursor, aider) and validate every generated snippet with tests before committing.
- Automate environment setup with
pyproject.toml, pre-commit hooks, and reproducible scripts.
Why Python dominates AI coding
Python did not win the AI race by accident. NumPy shipped in 2006. scikit-learn followed in 2010. TensorFlow arrived in 2015, PyTorch in 2016. By the time LLM-assisted coding became mainstream, Python already had the deepest ecosystem of ML/AI libraries on the planet. Every major model provider ships a Python SDK first. Every research paper includes Python reference code.
For a working engineer, this means three things:
- Library availability is unmatched. If a new model architecture drops, a Python implementation exists within days.
- Tooling integration with AI coding assistants (GitHub Copilot, Cursor, aider) works best in Python because the training data is overwhelmingly Python.
- Hiring and collaboration stay simple. Your teammates read Python. Your CI pipeline runs Python. Your deployment targets accept Python.
Setting up your environment
A clean environment is the foundation. Skip this step and you will spend more time debugging import errors than writing features.
Pick a Python version manager
Use pyenv (Linux/macOS) or pyenv-win (Windows) to install and switch between Python versions without touching your system Python. Pin the version per project with a .python-version file:
pyenv install 3.12.4
pyenv local 3.12.4
Create an isolated virtual environment
For most AI projects, the built-in venv module is enough:
python -m venv .venv
source .venv/bin/activate   # Linux/macOS
.venv\Scripts\activate      # Windows
If you need CUDA-specific builds of PyTorch or mixed Python/C++ dependencies, conda (via Miniforge) gives you better binary package management:
conda create -n myaiproject python=3.12
conda activate myaiproject
Pin dependencies properly
Use pyproject.toml as the single source of truth. Define your core dependencies there and generate a lockfile with pip-compile (from pip-tools) or uv:
[project]
name = "my-ai-project"
requires-python = ">=3.12"
dependencies = [
    "torch>=2.3",
    "transformers>=4.40",
    "openai>=1.30",
    "pytest>=8.0",
]
Then lock:
pip-compile pyproject.toml -o requirements.lock
pip install -r requirements.lock
This guarantees that every developer and every CI run uses identical package versions.
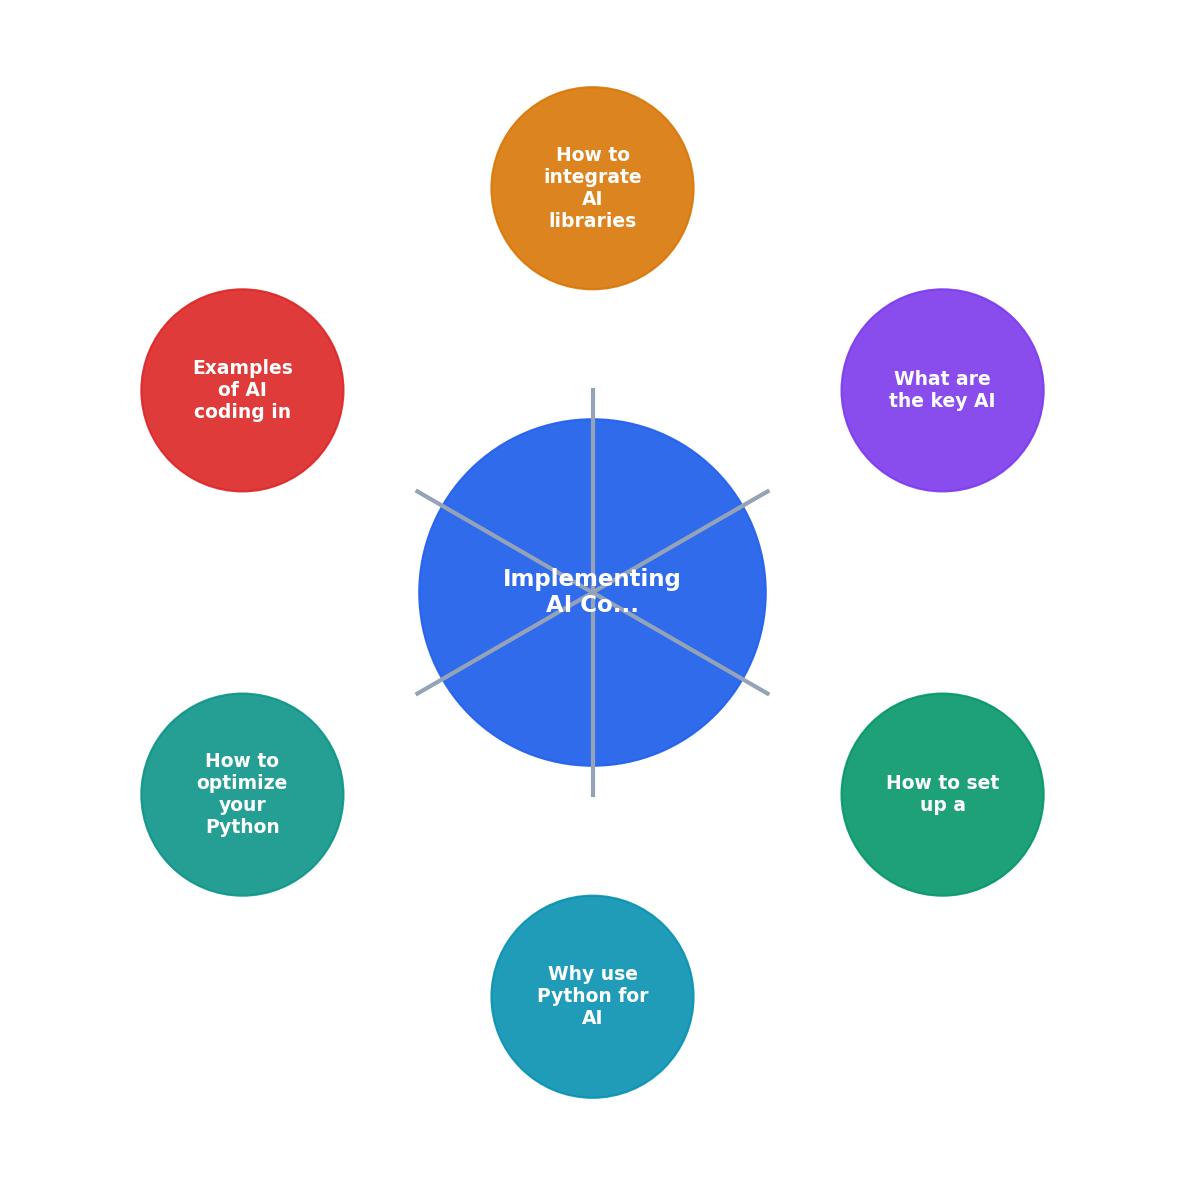
The diagram above shows the flow: Pick Python version, Create venv, Pin dependencies, Install AI libraries, Configure editor, Run tests, Deploy. Each step feeds the next. Skip one and the chain breaks.
Essential AI libraries for Python

"The tutorials below help you pick the right tool and make it part of your daily practice.">, Python Coding With AI (Learning Path)
Choosing the right library depends on what you are building. Here is a practical breakdown:
| Library | Best for | Install size | Learning curve |
|---|---|---|---|
| PyTorch | Research, custom models, fine-tuning | ~2 GB (with CUDA) | Medium |
| TensorFlow | Production pipelines, TFLite mobile deploy | ~1.5 GB | Medium-high |
| scikit-learn | Classical ML, tabular data, quick prototypes | ~30 MB | Low |
| Hugging Face Transformers | Pre-trained NLP/vision models, fine-tuning | ~200 MB + model | Medium |
| LangChain | LLM orchestration, RAG, agents | ~50 MB | Medium |
| OpenAI Python SDK | Direct GPT/embedding API calls | ~5 MB | Low |
Deep learning: PyTorch vs. TensorFlow
PyTorch is the default for most new projects in 2026. Its eager execution model means AI coding assistants generate code that runs immediately without graph compilation surprises. Debugging is straightforward: set a breakpoint, inspect tensors, move on.
TensorFlow still has an edge in production deployment pipelines, especially if you target mobile (TFLite) or edge devices. Its SavedModel format and TF Serving infrastructure are battle-tested.
Pick PyTorch unless you have a specific deployment constraint that requires TensorFlow.
LLM integration libraries
For calling LLM APIs, the OpenAI Python SDK (openai) is the simplest starting point. It covers chat completions, embeddings, function calling, and streaming with clean async support.
For more complex workflows (retrieval-augmented generation, multi-step agents, tool use), LangChain or LlamaIndex provide higher-level abstractions. Be aware that these add layers of indirection. Read the generated code carefully before shipping it.
Utility libraries you will need
- NumPy and pandas for data manipulation
- httpx for async HTTP calls to model APIs
- pydantic for validating structured outputs from LLMs
- pytest for testing everything
Example AI Project Dependency Stack
Integrating AI tools into your workflow
The libraries are installed. Now the question is how AI coding assistants fit into your daily loop.
Editor-level AI integration
GitHub Copilot works inside VS Code and JetBrains IDEs. It autocompletes functions, suggests test cases, and generates boilerplate. For Python AI work, it excels at writing data transformation code and standard API call patterns.
Cursor goes further by letting you chat with your codebase. You can highlight a function, ask "add error handling for rate limits on this OpenAI call," and get a targeted edit. For AI projects with many interconnected modules, this context-aware editing saves real time.
aider runs in the terminal and edits files directly via git commits. It works well for refactoring across multiple files, like updating every call site when you switch from the completions API to the chat API.
Validate before you commit
AI-generated Python code compiles. It often runs. It does not always do what you expect. Every generated snippet needs:
- A unit test that covers the expected behavior
- A type check pass with mypy or pyright
- A manual review of edge cases the AI likely ignored (empty inputs, rate limits, token limits)
pytest, mypy, and ruff on every commit. This catches AI-generated mistakes before they reach your main branch.# .pre-commit-config.yaml
repos:
- repo: https://github.com/astral-sh/ruff-pre-commit
rev: v0.5.0
hooks:
- id: ruff
args: [--fix]
- repo: https://github.com/pre-commit/mirrors-mypy
rev: v1.10.0
hooks:
- id: mypy
Optimizing your Python AI workflow
Once the basics are solid, small optimizations compound into significant time savings.
Use uv for fast installs
uv (from Astral, the makers of Ruff) replaces pip with a Rust-based installer that resolves and installs dependencies 10-100x faster. On a project with 50+ packages, uv pip install -r requirements.lock finishes in seconds instead of minutes.
Cache model downloads
Large model files (BERT is 440 MB, Llama 3 is 8+ GB) should not re-download on every environment rebuild. Set HF_HOME or TRANSFORMERS_CACHE to a persistent directory outside your virtual environment:
export HF_HOME=/data/huggingface_cache
Structure your project consistently
A clean layout makes AI assistants more effective because they can find relevant context:
my-ai-project/
├── pyproject.toml
├── requirements.lock
├── src/
│   └── myproject/
│       ├── __init__.py
│       ├── models.py
│       ├── prompts.py
│       └── api.py
├── tests/
│   ├── test_models.py
│   └── test_api.py
└── notebooks/
    └── exploration.ipynb
Keep notebooks for exploration only. Production code lives in src/. Tests mirror the source structure. This separation means your AI assistant generates code in the right place and your CI pipeline knows what to test.
Profile before you optimize
Use py-spy for CPU profiling and torch.profiler for GPU workloads. AI-generated code often includes unnecessary tensor copies or redundant API calls that only show up under profiling.
Practical setup checklist
Python AI Environment Setup Checklist
Your progress is saved automatically in your browser.
FAQ
Frequently Asked Questions
venv or conda. Define all dependencies in pyproject.toml and lock them with pip-compile or uv. Install your AI libraries into the locked environment. Configure pre-commit hooks for linting, type checking, and testing. This gives you a reproducible setup that works identically on every machine and in CI.pyproject.toml, and handles the vast majority of Python packages. Switch to conda only when you need specific CUDA toolkit versions bundled with PyTorch or when you have non-Python dependencies (like C libraries) that conda manages better than pip.What does your current Python AI environment setup look like, and which part of the workflow causes the most friction? Share your experience in the comments.
Additional Resources
- Python Coding With AI (Learning Path) - Use AI coding assistants to write, review, and debug Python code faster. Pick from Claude Code, Cursor, or Gemini CLI and start coding.
- Best AI for Python Coding: 7 Tools to Boost Your Productivity - Best AI for Python Coding by Use Case · 1. Rapid Web Development like FastAPI, Django, Flask · 2. Data Science and ML like Pandas, PyTorch, ...
- Best AI for Python Coding in 2026 (Top 8 Tools Compared) - The 8 best AI tools for Python coding in 2026. Cursor, GitHub Copilot, PyCharm AI, Claude Code, Windsurf and more. Compared for fastest way ...
Ready to Master Vibe Coding?
Learn to build software faster with AI assistance using the Vibe Coding Bible.
Get Started